Welcome to our guide on making custom knives! If you have a passion for crafting blades and want to design your own unique creations, you’ve come to the right place. In this article, we will take you through the step-by-step process of making custom knives, covering everything from choosing the materials to finishing and sharpening the blade.
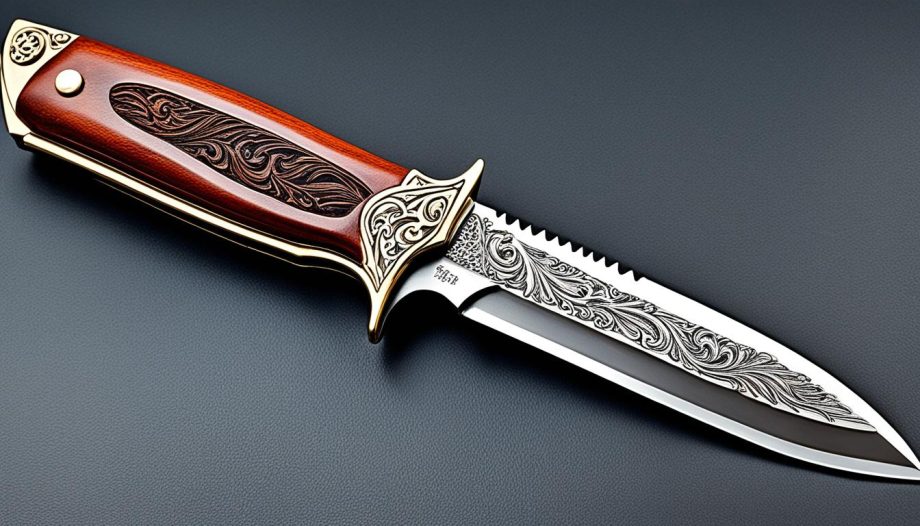
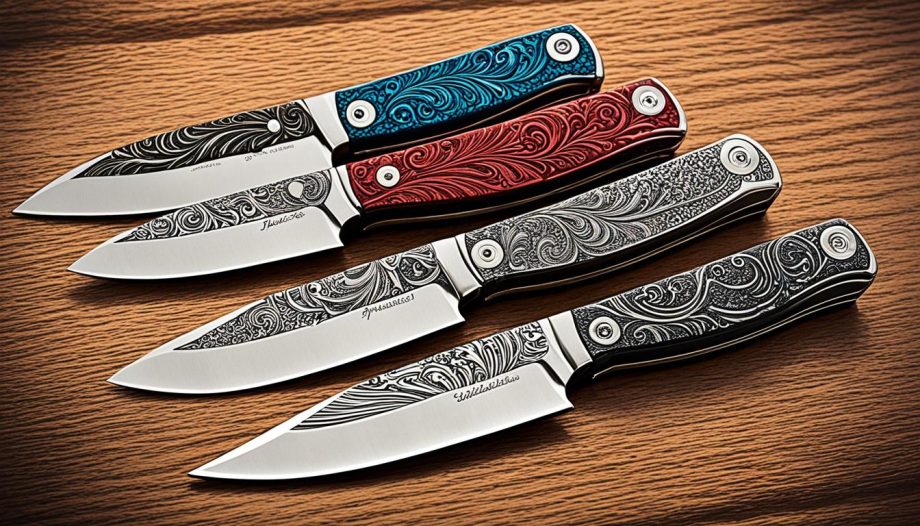
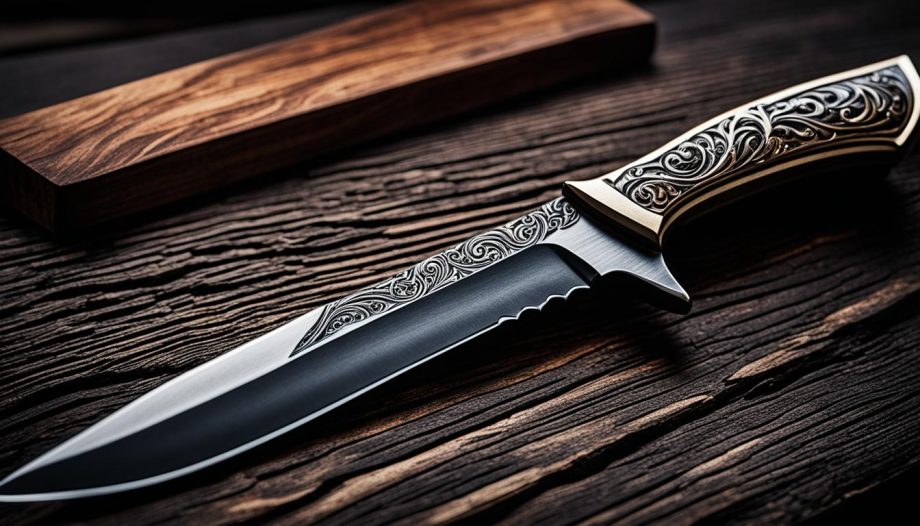
Designing the blade is the first crucial step in creating a custom knife. Whether you want a sleek and modern design or a more traditional look, sketching the blade and handle shape on graph paper will help you bring your vision to life.
When it comes to handle design, you have three options: full tang, partial tang, or through-tang. Each method has its advantages, so choose the one that best suits your project and personal preference.
Choosing the right materials is essential for crafting a high-quality knife. Carbon steel, specifically 01 carbon steel, is recommended for its properties and ease of heat treatment. As for the handle, you can choose from a variety of materials such as wood, bone, or metal.
The next steps involve rough cutting the blade, finishing it, and heat treating it to ensure durability. Once the blade is complete, you’ll need to add the handle securely using pins or rivets and epoxy.
Finally, sharpening the knife is the last step in the process. With the right tools and techniques, you can achieve a razor-sharp edge that will make your custom knife truly functional.
Stay tuned for the upcoming sections where we will dive deeper into the various steps involved in making custom knives. We will explore the forging process and the intricacies of designing and cutting the blade. Whether you’re a beginner or an experienced knife maker, there’s something valuable for everyone in this guide.
Steps for Forging a Knife
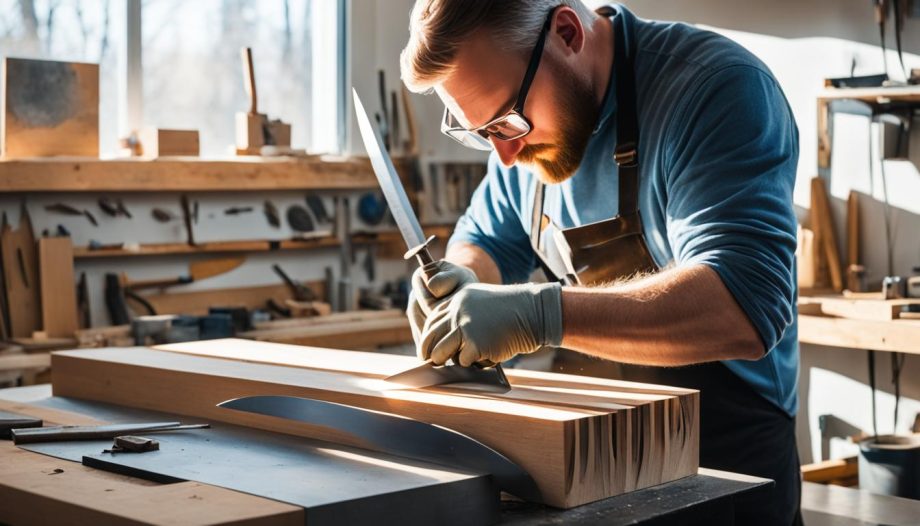
Forging a knife is a meticulous process that requires skill and attention to detail. Each step contributes to creating a high-quality, durable blade. Let’s explore the steps involved in forging a knife.
- Heat until yellow: The first step in forging a knife is heating the steel until it reaches a yellow color. This temperature ensures the steel is malleable and ready for shaping.
- Determine the mass distribution: By hammering the steel on an anvil, the mass distribution of the knife is determined. This includes shaping the knife point and tapering the sides to achieve the desired blade profile.
- Flatten the blade: Hammering the flat edge of the steel is essential for flattening the blade and creating the bevels. These bevels are responsible for forming the cutting edge of the knife.
- Heat and cool: After shaping the blade, it is subjected to a series of heating and cooling cycles. This helps to normalize the steel, relieving any internal stresses and enhancing the blade’s strength and resilience.
- Sanding: To achieve a smooth finish, the blade is carefully sanded. This step removes any rough edges and prepares the blade for subsequent stages of the knife-making process.
- Strengthen and sharpen the knife: Strengthening and sharpening the knife is a crucial step. The blade is reheated and then quenched in oil to harden it. Afterward, the blade is slowly reheated to temper it, reducing its brittleness while maintaining its hardness.
- Reheat: Upon completing the strengthening process, the blade may need to be reheated to remove any residual stresses and ensure its durability.
- Create the handle: Choosing the right handle material, commonly wood, and attaching it securely using glue and pins is essential for creating a comfortable and aesthetically pleasing handle.
- Sharpen: The final step in forging a knife is sharpening the blade. This is done using a fine file and whetstone to achieve a razor-sharp edge for optimal cutting performance.
By following these steps, you can forge a custom knife that is not only functional but also a work of art. Now that we’ve covered the forging process, let’s move on to the next section to explore the design and cutting of the blade.

Designing and Cutting the Blade
Designing the knife is a critical first step in the process of making custom knives. It involves sketching the side profile and carefully considering the handle attachment and design. For those who prefer a visual representation, CAD modeling can be done optionally to refine the design.
When it comes to the required materials, you will need a 4mm 01 carbon steel sheet for the blade, handle scales like walnut for the handle, brass block and bar for the bolsters, Corby rivets for secure attachment, sandpaper for refining the finish, hacksaw and file for cutting and shaping, drill for drilling holes, rasp for smoothing, wood finishing oil for enhancing the handle, epoxy for strong bonding, a sharpening stone to achieve a razor-sharp edge, and a kitchen steel for regular maintenance.
The next step is cutting and shaping the blade profile. Start by tracing the side profile onto the steel sheet, and then carefully cut along the traced lines using a hacksaw. Once the basic shape is achieved, use a file to shape the bevels and chamfer profile, ensuring precision and symmetry.
Drilling and finishing the blade is the subsequent stage. Begin by drilling holes for the bolsters and Corby rivets, ensuring a secure alignment. Next, sand the blade to remove file marks and achieve a smooth finish. This step contributes to the overall aesthetics and functionality of the knife.
To ensure a high-quality blade, the heat treating process is crucial. This technical step involves heating the steel to a specific temperature, quenching it in oil to harden it, and then tempering it to reduce brittleness. This process enhances the blade’s durability and ensures optimal performance.
Lastly, the finishing touches are applied to the blade. Sand the blade with different grits of sandpaper to achieve a smooth finish, removing all the scratches from the heat treating process. This final step contributes to the overall appearance and feel of the knife, making it ready for use or display.