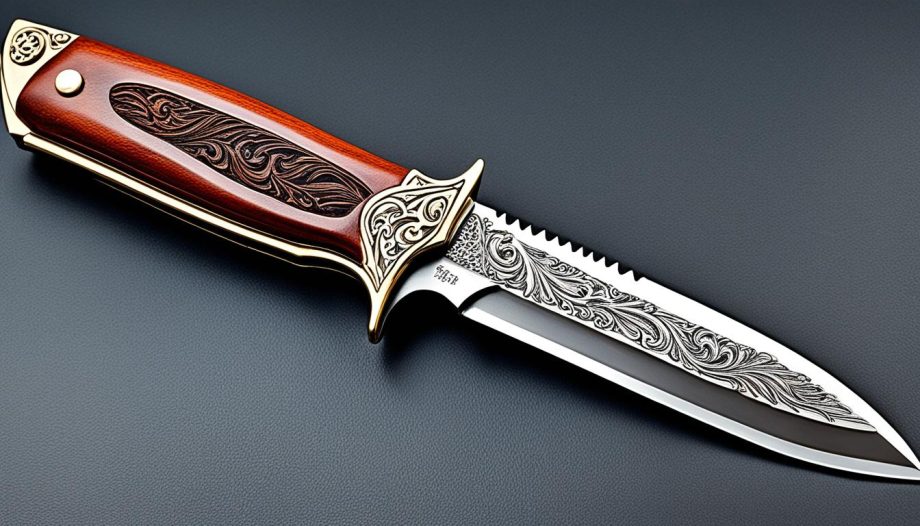
Welcome to our guide on crafting custom knife handles! If you’re looking to enhance your blades with a personal touch, making custom knife handles is the way to go. In this article, we will explore the step-by-step process of creating unique and personalized handles for your knives. Whether you’re a seasoned craftsman or a DIY enthusiast, this guide will provide you with all the information you need to add a touch of creativity to your blades.
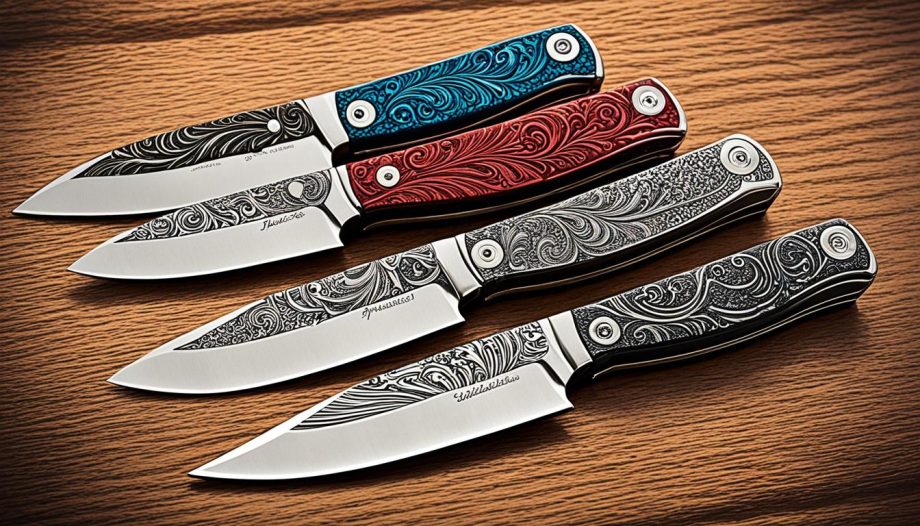
Custom knife handles offer a multitude of benefits. Not only do they provide a comfortable grip and improved control, but they also allow you to showcase your individual style and personality. With endless possibilities for materials and designs, you can create a handle that perfectly complements your blade and reflects your unique taste.
Throughout this guide, we will cover everything from preparation and cutting the handle material to drilling pin holes, attaching the handle to the blade, and finishing touches. By the end, you’ll have a beautifully crafted custom knife handle that you can be proud of.
So, let’s dive in and discover the art of crafting custom knife handles!
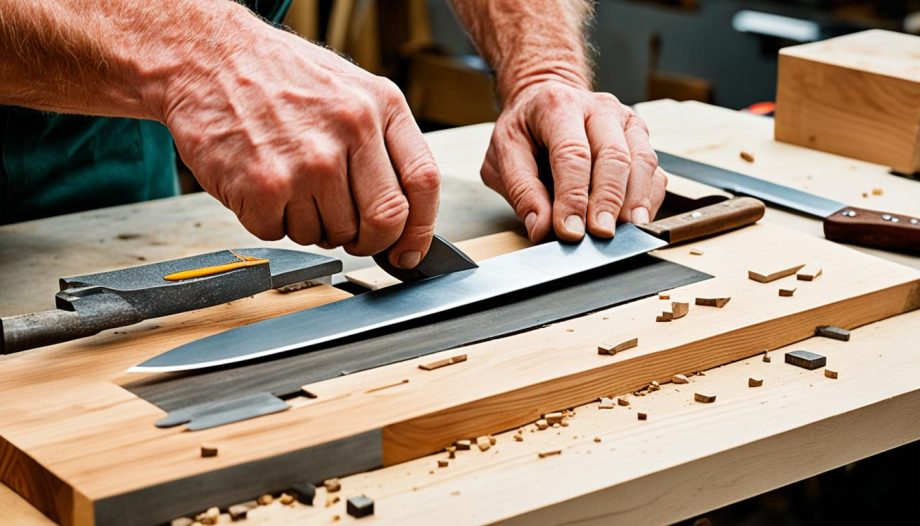
Step 1: Preparing Materials and Cutting Handle Material to Size
The first step in making custom knife handles is to prepare the materials. This ensures that you have everything you need before you begin crafting your unique handle. Here’s how to get started:
- Lay out all the necessary materials on a clean and clutter-free surface. This includes the blade, handle scales, pins or rivets, and epoxy.
- Take precautions to protect yourself and the blade by covering the sharp section with masking tape. This will prevent any accidental cuts or scratches.
- Next, cut your handle scales to a square shape with extra material around the blade handle. This provides room for refinement and adjustments later on.
- Use a pencil to trace the edge of the blade handle onto the handle scales. This marking will guide you during the cutting process.
- Now, it’s time to cut the handle material to size using a vertical band saw. This tool allows for precise and controlled cuts.
- When cutting, leave some extra material beyond the traced line. This will give you room to fine-tune the fit of the handle later on.
By carefully preparing the materials and cutting the handle material to size, you are setting the foundation for crafting a custom knife handle that perfectly matches your style and preferences.
Step 2: Drilling Pin Holes
Once you’ve prepared your materials and cut the handle material to size, the next step in making custom knife handles is drilling pin holes. This crucial step ensures that your handle is securely attached to the blade and provides stability during use.
Start by taping the handle scales together and marking the exact spots where the pins will be inserted. This will help ensure that the holes align properly and the pins fit snugly.
Using a drill press or a handheld drill with a bit size suitable for your chosen pins, carefully drill the holes in the scales. Take your time to maintain accuracy and avoid damaging the material. If you’re using rivets instead of pins, you’ll need to countersink the holes to the desired depth.
Pro Tip:
Before drilling, double-check that the holes in the knife blade align with the pin holes in the scales. This will help prevent any alignment issues during assembly.

After drilling the pin holes, it’s important to shape and sand the section of the scale that will come into contact with the sharp edge of the blade. This ensures a comfortable grip while using the knife and minimizes any potential discomfort or slippage.
Remember to take your time and be patient during this step. Drilling pin holes accurately is crucial for the overall quality and durability of your custom knife handle.
Step 3: Cutting Your Pins to Size
Once you have assembled the custom knife handle, it’s time to cut the pins to the perfect size. This step requires precision and attention to detail as the pins play a crucial role in securing the handle and ensuring its longevity.
Start by marking the desired length of the pins on the handle. It’s important to leave a bit of extra length rather than cutting them too short. This allows for adjustments and ensures a secure fit.
Using a metal band saw, carefully cut the pins to the marked length. Take your time and ensure a clean and straight cut to maintain the integrity of the handle. A metal band saw is recommended for its precision and ability to handle different pin materials with ease.
Once the pins are cut to size, it’s time to move on to the epoxying process. Apply epoxy to the handle scales, ensuring a thorough coverage. Then, carefully clamp the handle together, aligning the pinholes properly. Remove any excess epoxy before allowing it to cure.
With the pins cut to size and the handle securely epoxied together, you’re one step closer to completing your custom knife handle. The next and final step is sanding and polishing the handle to achieve a smooth and professional finish.