Welcome to our guide on how to make custom knife scales! If you’re looking to personalize your knife’s look and enhance its grip, making your own custom scales is the way to go. With just a few materials and some basic tools, you’ll be able to create a unique handle that perfectly suits your style and needs.
To get started, you’ll need some essential materials, such as wood or other handle materials, pins or bushings, a belt sander, sandpaper sheets, epoxy, a drill and drill bit, clamps, and a few other handy tools. These items can be easily sourced from various stores and online suppliers, ensuring you have everything you need to bring your vision to life.
Once you have your materials ready, the first step is to prepare them. This involves cutting the handle material to the right size, drilling holes for the pins, and ensuring everything is properly aligned. It’s important to take your time and be precise during this process, as it sets the foundation for a well-crafted handle.
Next, it’s time to assemble and finish the handle. This involves aligning the scales with the knife tang, securing the pins or rivets in place, and using epoxy to bond everything together. After the epoxy has cured, excess glue and any imperfections can be removed, and the handle can be shaped and sanded to its final form. Finally, a bit of polishing or finishing can be applied to give your custom knife handle a professional and glossy look.
Stay tuned for the upcoming sections in this series, where we’ll dive deeper into selecting and preparing the perfect knife handle materials, as well as providing step-by-step instructions on assembling and finishing your custom knife scales. Let’s get started on creating a knife handle that’s truly one-of-a-kind!
Selecting and Preparing Knife Handle Materials
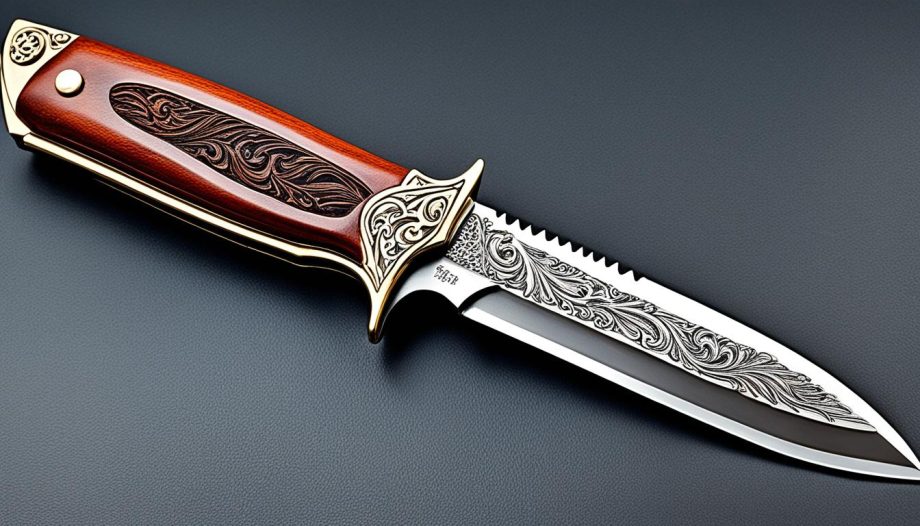
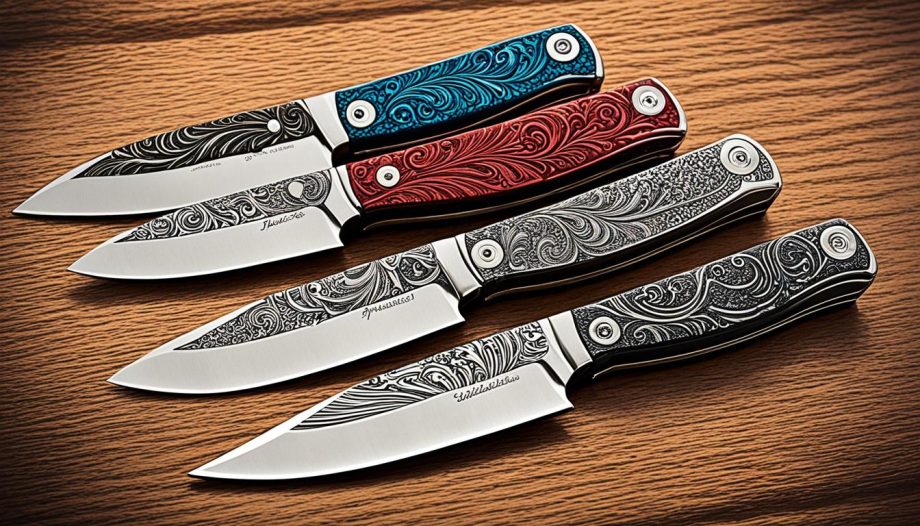
When it comes to creating custom knife scales, the materials you choose play a vital role in both the aesthetics and functionality of the final product. Selecting the right knife handle materials is crucial to ensure a comfortable grip and a durable finish.
Wood is a popular choice for knife handles due to its natural beauty and versatility. However, it’s essential to consider the specific type of wood that will work best for your knife’s design and intended use. Other materials like G10, micarta, and acrylic are also worth exploring for their unique properties and visual appeal.
Woodcrafters and online stores such as Texas Knife Supply and Bad Dogs Burl Source offer a wide range of knife handle materials to suit various preferences and budgets. These reputable sources provide high-quality options for you to explore and experiment with.
Stabilized Wood for Durability
While choosing knife handle materials, it’s important to prioritize durability and resistance to moisture. Stabilized wood is a popular choice for custom knife scales due to its enhanced strength and stability.
Stabilized wood undergoes a special process that involves impregnating the fibers with resin or other stabilizing agents. This treatment helps to eliminate weaknesses in the wood, making it less likely to warp or crack when exposed to moisture or changes in temperature.
By selecting stabilized wood for your knife handle, you can ensure longevity and maintain the aesthetic appeal of the scales for years to come.
Preparing the Knife Handle Materials
Once you have selected your preferred knife handle materials, the next step is to prepare them for the shaping process. This involves cutting and shaping the materials into scales that match the shape of the knife handle.
Begin by tracing the pattern of the knife onto the selected material. A bandsaw or other suitable tools can then be used to cut the scales to the desired size and shape.
After cutting the scales, it’s important to flatten them and check for parallelism. This ensures a snug fit and proper alignment during the assembly process.
Here is an example of how a table showcasing different knife handle materials could look:
| Material | Properties |
|---|---|
| Wood | Natural beauty, versatility |
| G10 | High strength, chemical resistance |
| Micarta | Durable, lightweight |
| Acrylic | Colorful, translucent |
By carefully selecting and preparing your knife handle materials, you can create custom knife scales that not only look impressive but also provide a comfortable and reliable grip. The next section will guide you through the process of assembling and finishing the knife handle.

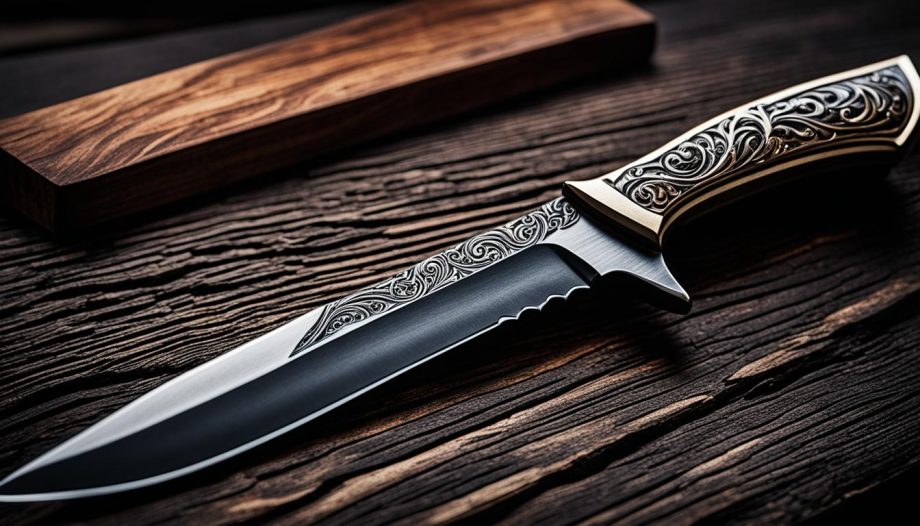
Assembling and Finishing the Knife Handle
Once you have prepared the materials and shaped the knife scales, it’s time to assemble and finish the handle. This crucial step involves bringing all the components together and giving your custom knife handle its final touch.
To begin, drill the necessary pin holes in the scales. Carefully insert the pins or rivets, ensuring a secure fit. Cut the pins or rivets to the appropriate length and insert them firmly into the holes. This will ensure stability and durability in your handle assembly.
Now it’s time to apply epoxy to the mating surfaces of the scales, pins, and tang. This adhesive will create a strong bond and ensure that your handle is sturdy. Clamp the handle together tightly and allow the epoxy to cure according to the manufacturer’s instructions. This step is crucial for a successful assembly.
Once the handle is glued, remove any excess epoxy and address any gaps that may have formed. Then, carefully sand the handle to its final shape. Pay attention to shaping the contours of the handle and smoothing out any rough edges or imperfections. This will enhance not only the look but also the feel of your custom knife handle.
For a polished finish, you can use sandpaper or a wood polish. Alternatively, you can apply Tru-Oil to achieve a glossy appearance. Whichever method you choose, take your time and ensure each step is done with care and attention to detail. By following these assembly and finishing techniques, you’ll have a high-quality custom knife handle that is both functional and visually appealing.